


UPDATE NOVEMBER 2024: Based on comments received here and on YouTube, Pioneer is no longer honoring repairs for this condition when out-of-warranty. That is a great disappointment considering Pioneer has previously admitted the problem was widespread and a manufacturing defect on their end. This means that many owners of their defective head units from 2020-2022 will be out of luck when their sets start showing these common symptoms, if they haven't already.
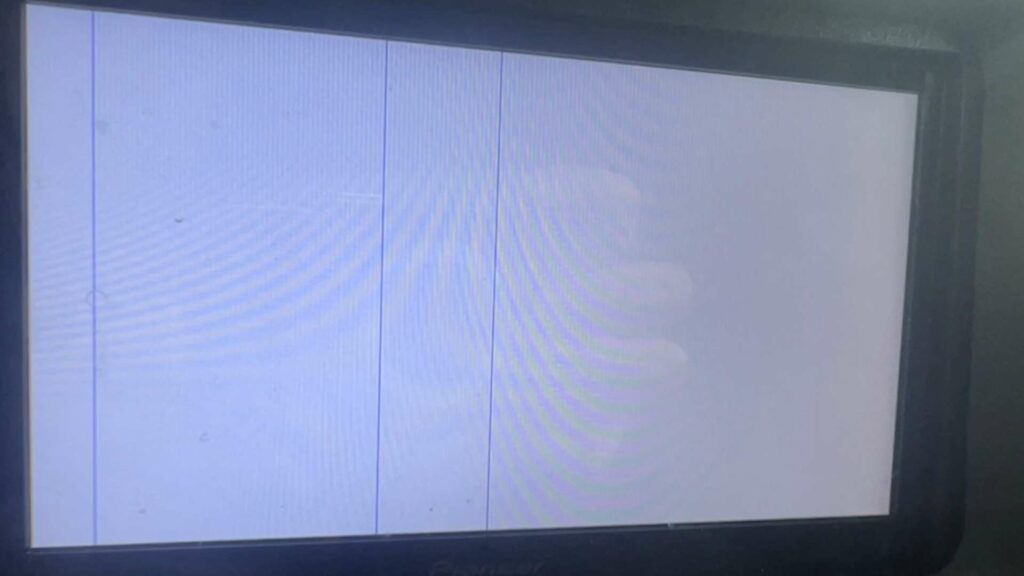
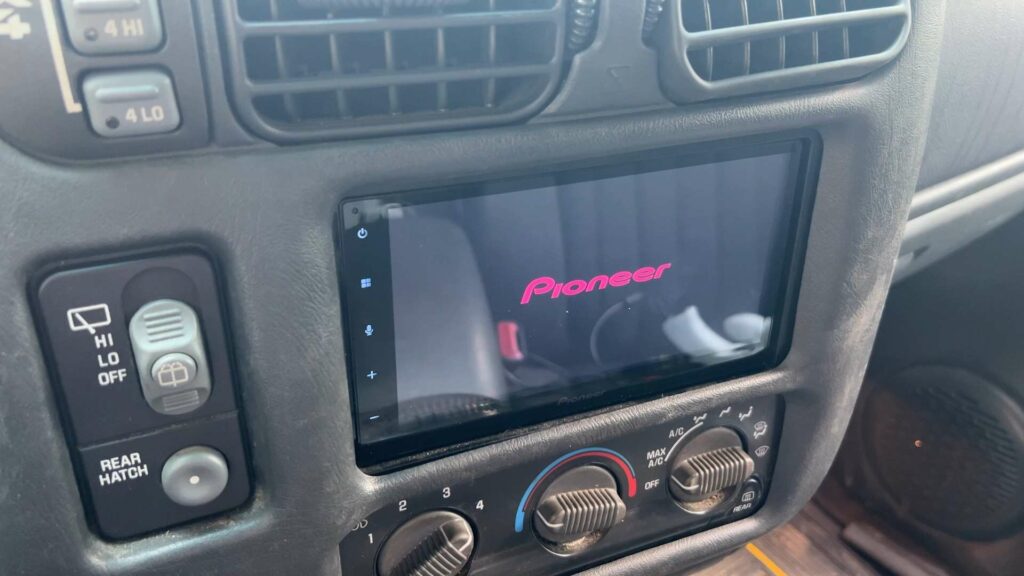
If you purchased a Pioneer head unit during the covid years of 2020-2022 (DHT-160, DMH-1770NEX, AVH-X2800BS or others), you might find it is starting to fail with a white screen of death. The symptoms will start showing up when you start the vehicle and become more persistent as time goes on. You will get a bright white screen sometimes with vertical lines through it or other major defects including a lack of touch interactivity.
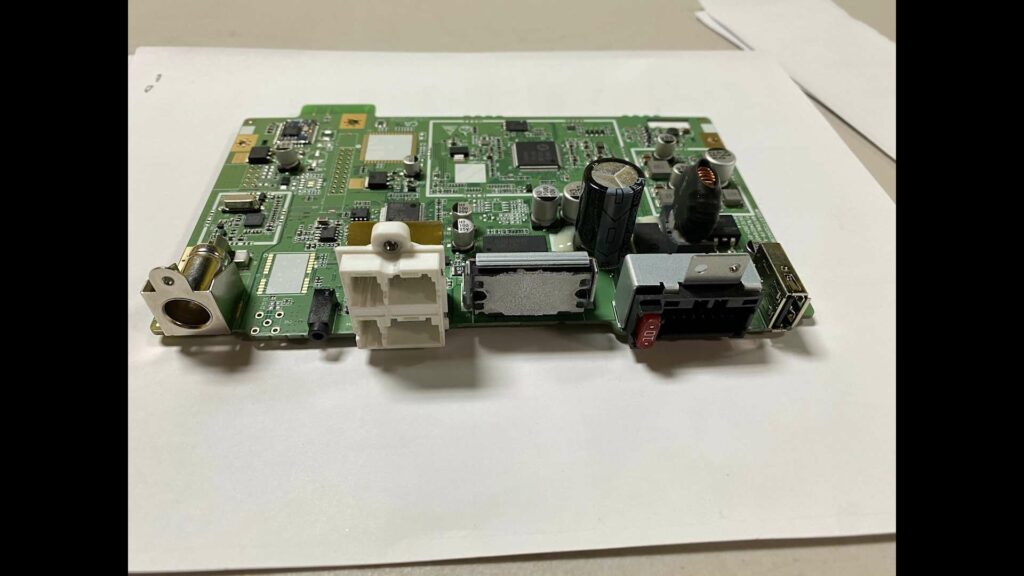
The underlying cause of this is due to poor internal connectors and solder joints along the mainboard or ribbon cable. In that sense it is comparable to the repair video I did to fix an LCD screen on an electric piano. But even better news, Pioneer has acknowledged that this is such a common problem that they have agreed to a courtesy repair of all head units that exhibit this problem regardless of warranty status. So it doesn't pay to disassemble and repair it yourself, you can send it in and have a fully repaired unit back to you within two weeks. Here's the complete process that I just went through:
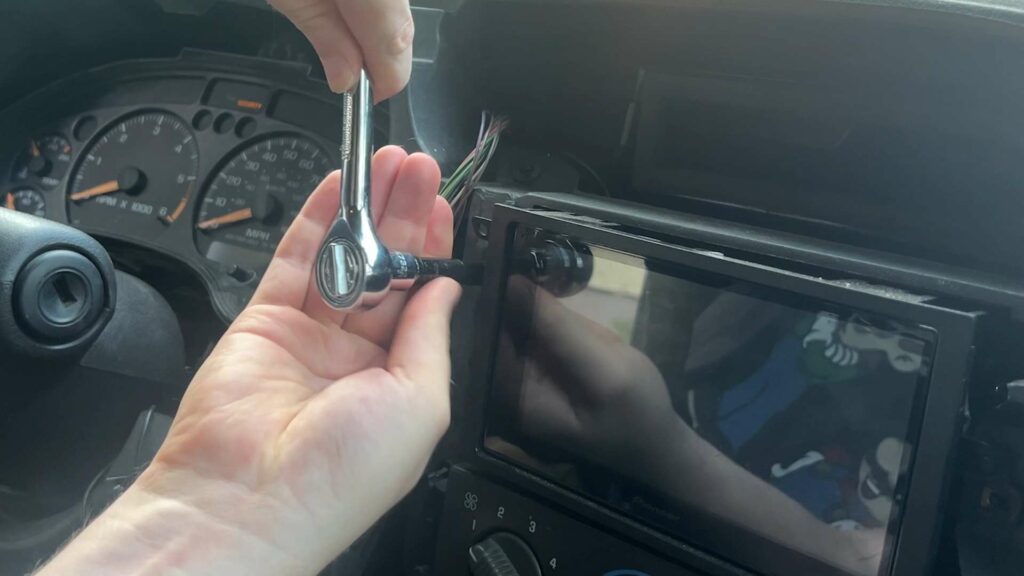
Step 1 - Remove the head unit from your car. This can be a mildly tedious process and requires removing the dash and unplugging quite a few components, so if you're not comfortable doing this you can take it to any auto shop and have them pull the radio for you.
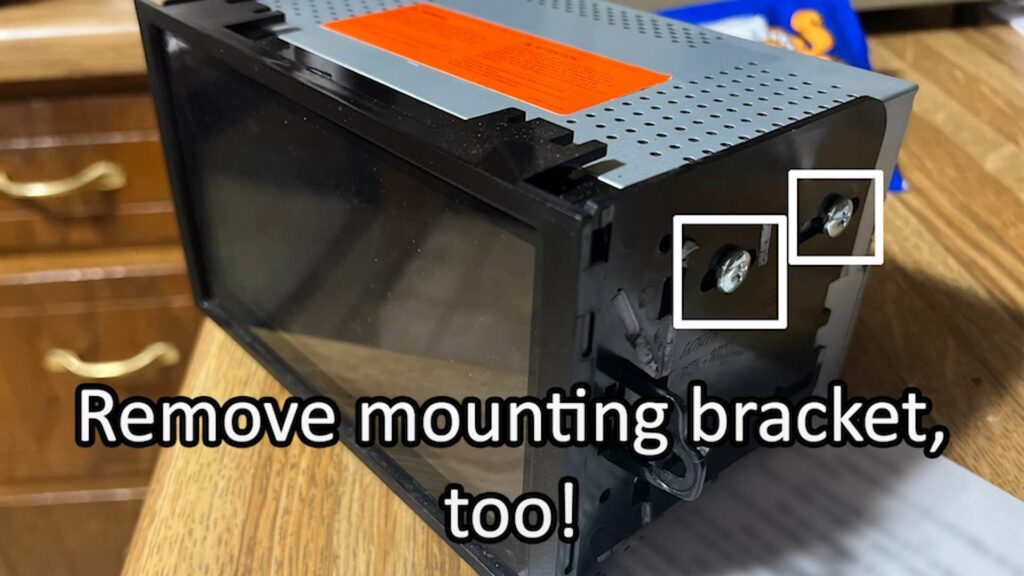
Step 2 - Remove all accessories and mounting brackets from the unit. Pioneer only needs the base head unit and anything extra you send will only impede the repair process. Keep all of it in a safe place at home.
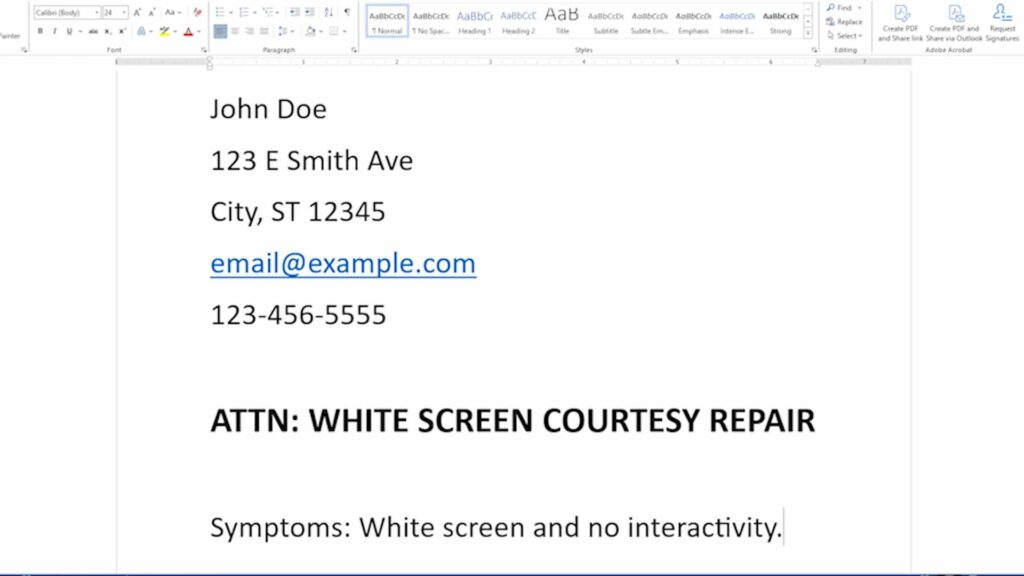
Step 3 - Write or print a note that contains your name, mailing address, phone and email. Importantly, you must mention "White Screen Courtesy Repair" so Pioneer understands the symptoms and will honor the free repair and return.
Step 4 - Find a suitably sized box and wrap the head unit in bubble wrap and insulation for safe transit. I used a 9x7x6 inch box from Amazon and the total weight was 2lb 8oz. Package it up and include the note within it.

Step 5 - Create a shipment label addressed to:
Pioneer Factory Service
West, 11814 Western Ave
Stanton, CA 90680
I used PayPal's ShipStation service which saved me quite a few dollars on postage compared to the local post office or USPS website. The cost was $9.95 for 4-day USPS Ground Advantage or $15.42 for 2-day Priority Mail.
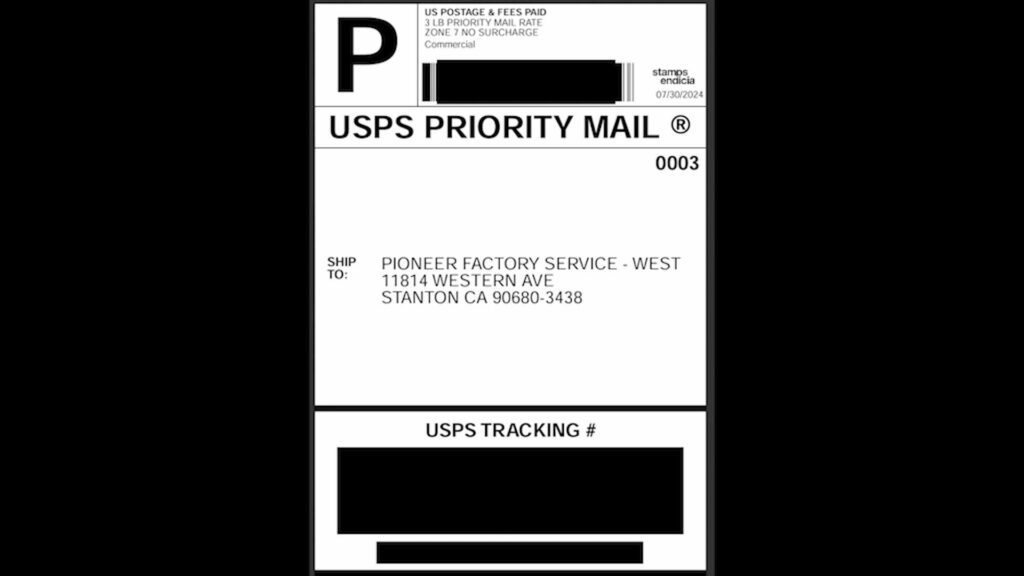
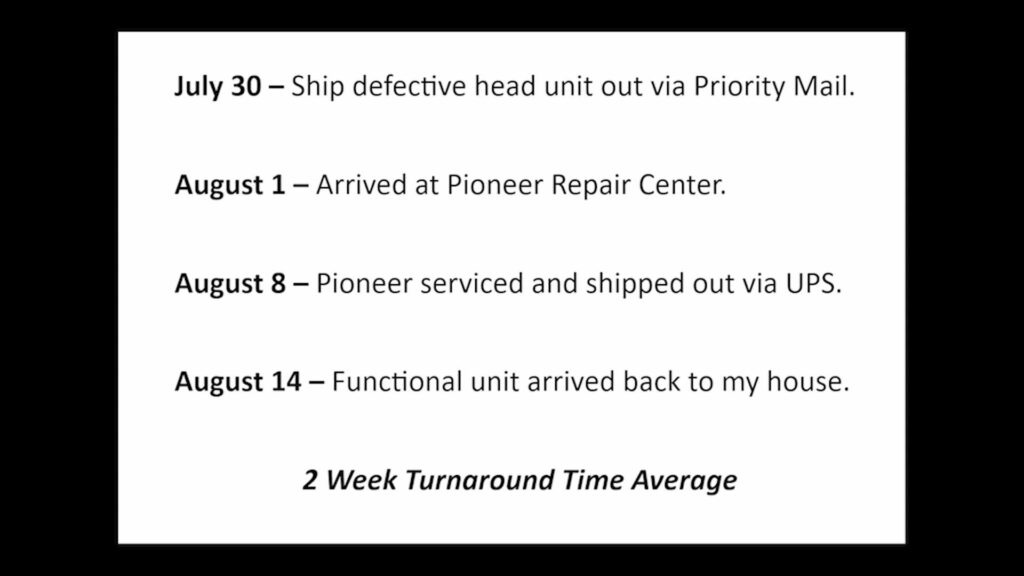
Step 6 - Drop the package off at your post office and wait. Keep an eye on the tracking number to see when it arrives. I shipped mine using Priority Mail on July 30th, and it arrived to Pioneer on August 1. From there, Pioneer repaired it and shipped it back out UPS on August 8. So that was a turnaround time of only five business days, and it arrived back to me on August 14th. So figure two weeks from the time you ship the bad one out until the time you get the new one.
Step 7 - Put the mounts back on and carefully reinstall it into your car or have a skilled technician assist. When all is done, turn on the ignition and watch your repaired radio light up!
Checking the service repair sheet, the technician replaced the main logic board XGA1495 and applied a firmware update. Over the phone, the technician indicated my suspicions were correct and this flaw is due to dry or depleted solder points along the circuits due to defects in manufacturing.
Anyway, I'm happy that my radio is back to pristine condition and Pioneer's support was exceptional. Even the phone support line is remarkable, with a real human picking up the line immediately. Above and beyond what I've seen elsewhere.

Thank you and I hope this helps!
I purchased a DMH-1770NEX 3/20/2022. This issue appeared first time 11/17/2024. I called Pioneer Customer Service and was told they recently put out a notice that this issue would not be covered if out of warranty.
That is extremely disappointing to learn. Others on YouTube have reported similarly. Pretty shameful of Pioneer to simultaneously acknowledge this is a widespread manufacturing error while no longer agreeing to fix any out of warranty. In no circumstance should a name-brand head unit die like this within 1-3 years of use. I would have great reserves about ever buying another Pioneer system knowing this, now. I've updated my post to reflect this change at Pioneer.
Just had my head unit repaired. Bought it Feb '24 and I called them on June 2nd '25 and even though it had been over a year since I purchased it they said it was covered under warranty after I explained what the problem was. The rest was exactly like you said. I mailed it in on June 4th and I received it today, June 18th. I couldn't be happier with their service.
Good to know, it seems to be a mixed bag of users who are granted replacement and others who are told they are out of luck. Possibly comes down to which customer service rep they get on the phone or how the problem is explained. It was such a widespread issue that affected multiple Pioneer units that I feel they should freely cover the replacements for at least 3 years past warranty. These units shouldn't be failing within 1-2 years of basic use. I did notice with my original that had the problem the radio signal also was continually static and difficult to pick up stations, the replacement seems improved but I went down some deep rabbit holes trying to do everything else to improve the signal on the original without believing it was the unit itself that had poor solder connections.
Price for Repairing is now 244€ - Price for getting this information was 49€ by the service center.
Crap, will never buy again a pioneer unit or would recommend this to anyone.
That is ridiculous. I praised them for initially honoring repairs after the warranty expired but have since read many stories by others that they stopped doing so. I would never buy another Pioneer electronic again either on principle alone. They mass produced multiple models with this major problem and upon discovering it they should had issued a full recall to replace any defective units indefinitely. I am still also annoyed that my original unit with the problem could never pick up radio stations without a lot of static and missing most frequencies. I felt all along it was a grounding issue but their support insisted it would not be a malfunction in the unit--so I spent a very long time even buying a bunch of insulators and altering my spark plug wires and everything trying to remove any interference without success. Only after getting the replacement did the stations come in clearer, so it was a material defect all along that was also part of why the screen eventually gave out.