As a hobby, I do a lot of vintage electronics restoration and discovery. Due to time-constraints I rarely find the chance to document any such efforts, which has included everything from restoring a 1950s television set to factory new condition, to repairing old oscilloscopes and making them sing songs. But my main passion remains on retro computer systems, from the 1970s through 1990s. This past year I even developed an extraordinarily comprehensive online design tool called Aquarius Draw for the failed 8-bit Mattel Aquarius computer, which allows designing art and generating necessary code in BASIC and Z80 Assembly for transferring to the actual machine (talented users have made use of it as seen in the gallery).
But every so often I take a few photos of simple projects and figure it doesn't hurt to make a quick blog about it. Here's a fast DIY solution to replacing an old and depleted CMOS battery for a recently acquired Macintosh Performance 5400/180 computer using only random parts laying around.
The Dangers of Old Clock/CMOS/PRAM Batteries

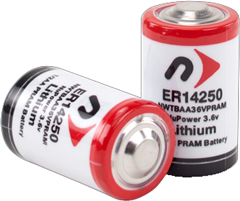
Eventually computers evolved to use the standard and safe Lithium Button Cell batteries (e.g., 3032) for preserving CMOS settings and system clock data. However, for many years a lot of them used much more acidic and corrosive solutions in the form of barrel batteries and hard-soldered solutions. This was common in the earliest line of Macintosh computers all the way through the iMac G3 models of the 2000s. But this style also occurred in many vintage IBM desktops.
These batteries are subject to leakage and corrosion that can eat through an entire motherboard without concern. This doesn't always happen but is increasingly common as time passes, especially for systems that may be stored in uncontrolled environments such as attics and sheds in high temperatures. I have acquired many computers over the years that suffered such fates, including Mac Classics and Packard Bells.
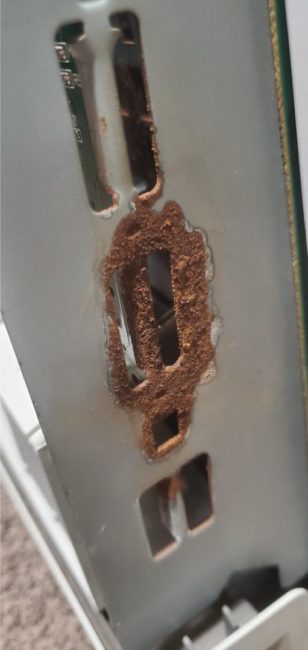
In once instance, a Mac I acquired had such devastating battery vomit that it ate through not just the PCB and components, but spewed acid across most other components and even violently chewed through the metal casing itself. This is always a troubling discovery as many of the components in these vintage machines are growing increasingly impossible to obtain replacements. An identical motherboard for one of these Mac sets may pop up once or twice a year and sell for hundreds of dollars on its own. For that reason, it is crucial to check for such problematic batteries and remove them immediately on receiving any vintage computer system. I recently carried out similar on two separate Apple IIGS machines including a rare IIGS upgrade model in a IIE body, both of which had original batteries still in place but had not leaked.
Replacing Obscure Batteries with Safer Alternatives
 Most CMOS batteries operate between 2.6V and 4V. Common battery voltages, depending on the system, will be either 3.6V or 4.5V. As long as that amount of voltage is getting through to the motherboard, the system doesn't care what shape or configuration the battery is. So while the originals may have 1/2 AA barrel-style batteries wired in or block-style 4.5V, replacing those with any type of battery that feeds off a similar voltage will suffice.
The goal of any battery replacement in vintage sets should be to both retain the original outer appearance of the system and to ensure a stronger safeguard against any potential damage from a leaking battery. One common approach to this is to replace any of these old style solutions with common AA or AAA battery holders. Depending on the voltage needs of the system, you can fine two-and-three battery holders that can commonly feed 3V to 4.5V. This is possible because AA and AAA batteries are 1.5V each, so with two or three feeding to each other we can get the same voltages that these dedicated original batteries supplied.
 In almost every configuration, the original battery — whether hard-soldered to the board or plugged into pins — will have only two active leads, a positive and negative. All we need to do to swap them out is to run the same sort of wiring from a new holder to it. Many motherboards, like the Packard Bells I've worked with previously, have dedicated pinouts for optional external battery packs in addition to a soldered solution. Whenever voltage is detected on those leads, that is where the battery draw will come from. Others only have a single spot for a battery, but in either case the goal is to remove the original risky battery setup and wire in a new battery pack for it, preferably in an arrangement that allows the battery to be placed away from the board to alleviate any chance for disaster.
A Quick DIY Solution with Craft Lights
 Although you can still find most varieties of CMOS batteries that'd be exact replacements for these vintage systems, there are more convenient solutions and ones which further mitigate any chance of PCB damage. Most commonly, there are dedicated battery packs you can find online that usually have two leads already soldered to them, sometimes with a 2-4 pin plug at the end. All you have to do is search around for the voltage you require in a battery pack form. But if you are in a hurry or not really wanting to deal with an online pursuit, there are plenty of local options as well.
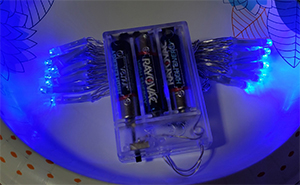
Walk into any craft store, thrift store, or hobby/lighting section of a hardware store and you'll inevitably find many battery-operated light strands meant for decoration, glass jar ornaments and other uses. Often times you can find them for pennies on the dollar. Today I strolled to a local thrift store and found a new pack for $0.50. I also had a family member who bought a box full of lit autumn leaves powered by these packs, but since the battery control only had an off, on or flash mode and no timer-based option they were not practical for the intended use. With that, I borrowed one of them to refactor for my purpose.
As mentioned, I recently acquired a Macintosh Performance 5400/180 system from 1997 and have been working to clean it up and revitalize it. These all-in-one machines were handy back in the mid-90s and distributed to academic institutes. I find them convenient because they are a singular system with CD, floppy (IBM-compatible) and support the full spectrum of legacy Mac software from 68K through OS System 9. This system used a Rayovac 840 - Computer Clock Battery (4.5 Volts Alkaline) which includes a simple three-hole plug that slides onto a spot on the motherboard. Rayovac sold many different forms of computer batteries in the 1990s. You can still find compatible 840 batteries for this on eBay but at a cost of $30 per battery.
My alternative free and instant solution was to simply refactor the 3x AA battery pack from the crafting lights for use on the board. Here is a photo exhibit of that process.

The original battery in the Macintosh 5400/180 had long lost its juice. By default the date would reset to 1969 or sporadically with no way to preserve it on power off.

The motherboard had a spot to affix a Rayovac 840 4.5V Alkaline using velcro. Rayovac made many computer batteries for different sets in the 1990s.

With the battery removed, you can see it has just two ordinary black and red leads coming from it, with a plug at the end that fits onto the motherboard.

The AA and AAA battery packs seen in thousands of crafting and decorating lights can serve as a cheap replacement with minimal reworking necessary.

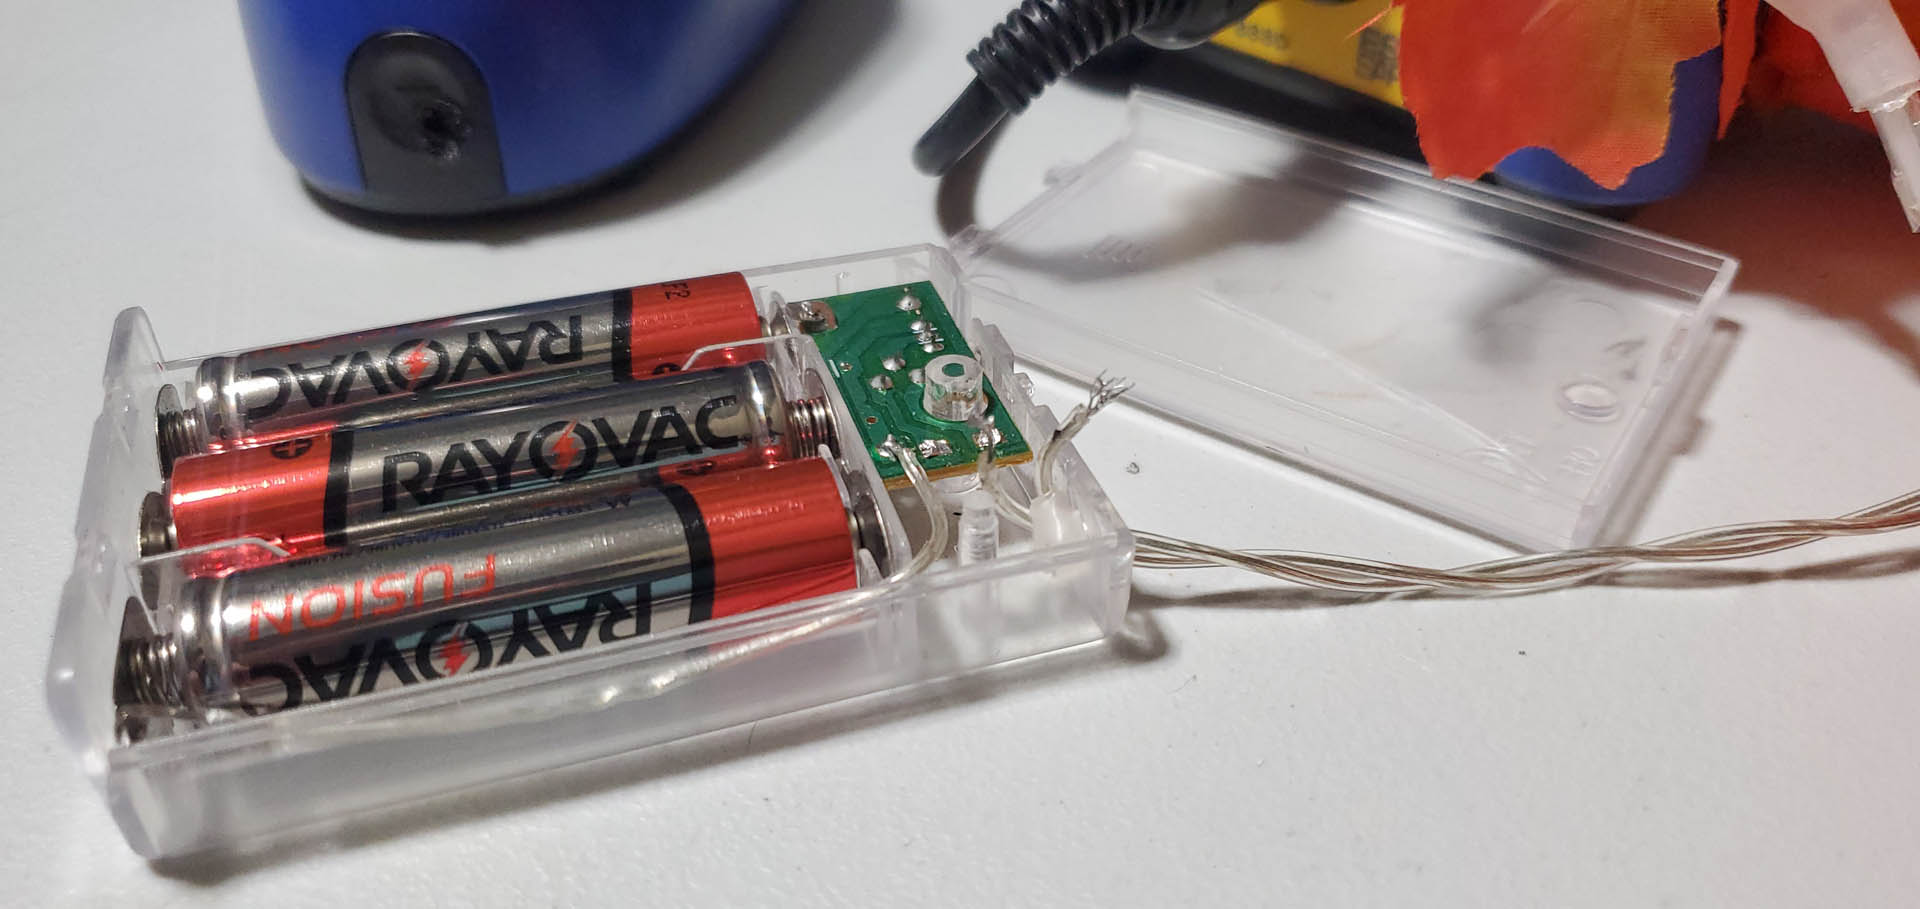
This pack has three chained AA batteries running to a very simple circuit that feeds a switch either ON, OFF or PULSATE. The two lead wires going to the lights are easily accessible from the solder pads.

Before continuing, it is always wise to verify that the voltage being output from the pack is in the ballpark range of the system's original battery pack and specifications. In this case, 4.5V is right on point.

To start the small mod, I cut the existing wires from the dead battery pack, which conveniently already have the end needed to fit into the motherboard. I also strip the base ends to be soldered.

The wires from the original battery pack are then fed into the new battery holder and soldered back onto place. The black connects to the negative lead, and the red connects to the positive (determined by following the PCB traces).

With the new pack wired up, it is wise to check the voltage once again. With the switch OFF, voltage is at 0. With the switch ON, voltage is at 4.5V.

After further study of the Mac internal layout, I concluded it'd be best to extend the wire length of the new battery pack so that it can easily rest below the motherboard in a vacant area. So I spliced additional wire onto it.

Using a hot air gun (a hair dryer will also work) I sealed the solder splice points to complete the extension.

In its final form, I am able to plug the battery pack into the board and run it to the back of the case and then mount it next to the hard drive using simple adhesive of Velcro. The case still closes and has no differences visually, but now with the board safely protected from any battery mishap.

With the new system clock battery up and running, the date and time can be set and will persist even when the computer has been shutdown and unplugged. This removes system dialog alerts and other problems. The battery is even more important on other systems that preserve BIOS settings and more.
The Plight of the Y2K20 Bug
While the world panicked 22 years ago over potential Y2K compatibility concerns, another obscure problem has crept up 20 years later for users of Mac System 8 or lower. Many Mac systems from the earliest onward suffer from a system clock that was only built to support up to the year 2019. As such, trying to set the clock to 2020 or 2021 will actually wrap around to assume it is the 1920s again. This is a minor inconvenience, though, as the internal clock does support up to 2040. Classic Mac software developer Rob Braun released a custom Set Date utility that enables you to update the year to 2020+, and these changes will persist.
With this fast and easy mod, I now have a future-proof battery holder for the Mac and can swap the batteries or enable/disable it at any point from a conveniently accessible battery holder, without having to remove the motherboard again. In cases where the battery may be soldered onto the board, my recommendation is to desolder the points and remove the fixed battery, then solder straight pins in place so that you can connect simple DuPoint female cap wiring into them and still have a similarly detached solution.


Pingback: Retro Fix: A Purgatory of TRS-80 Model 1 Repairs | Matt's Repository