


![]() Testing Android applications on PC or Mac without a physical device can be quite a burden. The configurable Android virtual machines in Eclipse/Android Studio are notably sluggish and don't work well with many third party frameworks, especially those powered by C++. If your development machine has Intel-based hardware you can accelerate the emulation process by using Intel® HAXM technology, but AMD users are not yet so lucky.
Testing Android applications on PC or Mac without a physical device can be quite a burden. The configurable Android virtual machines in Eclipse/Android Studio are notably sluggish and don't work well with many third party frameworks, especially those powered by C++. If your development machine has Intel-based hardware you can accelerate the emulation process by using Intel® HAXM technology, but AMD users are not yet so lucky.
The fastest and easiest way I've found to test Android applications is via the BlueStacks app player. BlueStacks is a free, ad-supported product for PC and Mac that enables you to download and run Android applications from your PC, as if using an Android device itself. BlueStacks isn't the only product on the market of its kind, but it does boast higher compatibility and a greater feature set than the competitors. According to BlueStack's feature chart, it supports up to 96% of all apps and 86% of all games on the Android market. Furthermore, BlueStacks offers streamlined emulation of the Android device's camera, microphone, multitouch and more which makes it ideal for testing in-development apps.
Installing Android Debug Bridge (ADB)
To use BlueStacks for debugging Android apps, you'll want to make sure you have the Android Debug Bridge (ADB) installed and operational. Some unofficial packages exist to get ADB in a hurry, but I have not tested said packages personally and it is easy enough to get it up and running through official means.
- If you haven't already done so, download and install the Android SDK Tools package from Google. ZIP files are offered for Windows, Mac and Linux; extract the contents to a dedicated directory.
- From the extracted file location, launch SDK Manager.exe. Under Tools, check the box to install "Android SDK Platform-tools" and press the Install button. You will then have to click "Accept License" and then "Install" to download and install these components.

Android Debug Bridge (ADB) is part of Android's SDK Platform-Tools component.
- Once installed, you will find ADB.exe within the "platform-tools" subfolder of the location you extracted the original files to. You can run this file from the command prompt without any parameters, or visit its official page on Google, to review the multitude of available settings. I recommend that you also append the ADB location to the PATH environmental variable [assuming it is a Windows install] so that it can be ran from any command line prompt without having to navigate into the folder directly.
- Press Windows Key + Pause/Break on your keyboard to get to the System Information screen.
- Click on Advanced System Settings in the left menu.
- Click the Environment Variables button.
- Double click the Path entry under System Variables.
- Go to the end of the field and make sure there is a semicolon (;), then insert the full platform-tools path (i.e., C:\android-sdk\platform-tools\)
- Click OK three times to close out of the dialog windows.
- Now if you have a physical Android device attached to your computer (with USB Debugging enabled), you should be able to type ADB devices from the command prompt to see a list of available devices for testing [the ADB daemon will start automatically with this command if it is not already started].
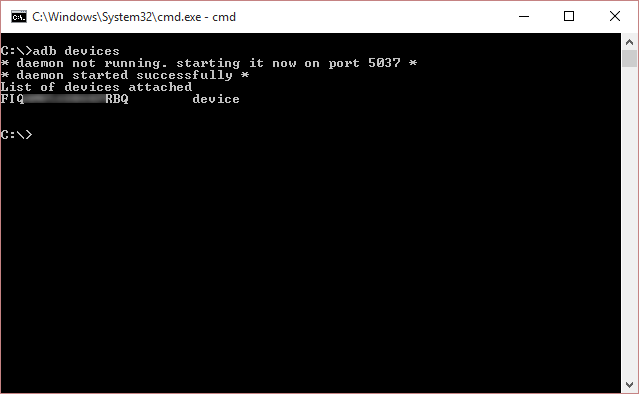
A list of connected Android devices accessible via ADB.
Installing BlueStacks App Player
Installing and configuring BlueStacks is as easy as installing any computer application.
- Head on over to http://www.bluestacks.com/ and click the Download button, which will match your target platform (Mac or Windows).
- Once downloaded, launch the EXE and follow standard install procedure on Windows, or double-click/drag the app file to your Applications folder on Mac.
- When you first launch BlueStacks, you will be taken through an initial configuration screen much like when booting a new Android tablet.
- You will want to sign-in using a Google account in order to access the Google Play store and synchronize app data and settings.
- When all is said and done, you'll be at a landing page with easy access to your Android applications.
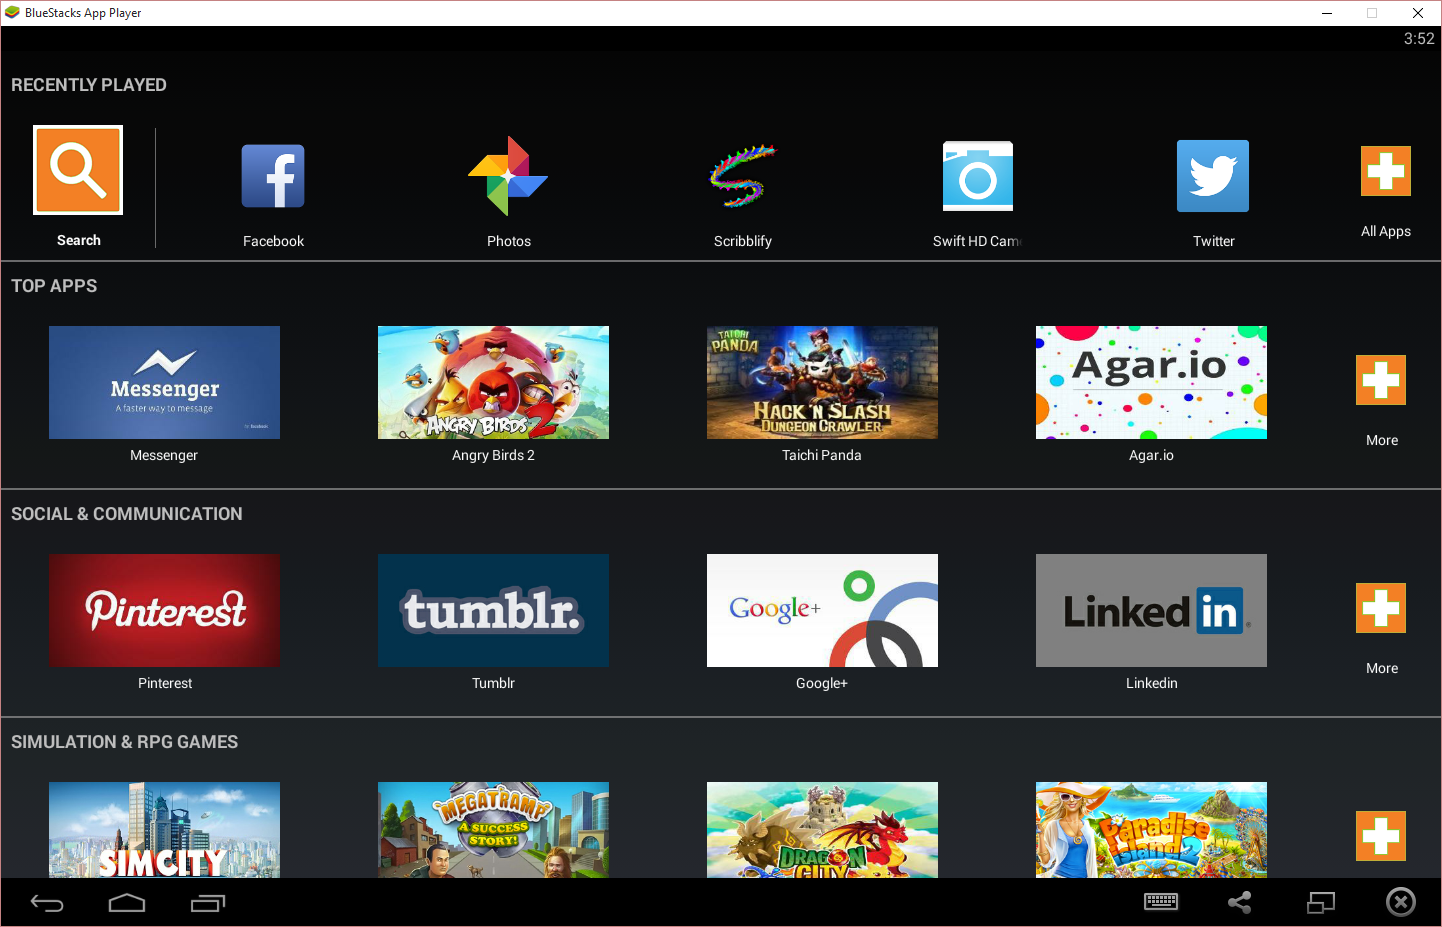
BlueStacks App Player
Running Development Apps Through BlueStacks
With ADB and BlueStacks installed, all that remains is to connect ADB to the BlueStacks player and send your Android app to it. Note that the free version of BlueStacks is ad/app supported so you may occasionally be prompted to install promoted apps before continuing. Alternatively, you can buy a year-long license for $24, the full version can also enhance performance.
- Launch BlueStacks so that the main dashboard screen is visible.
- Open a command prompt (or terminal on Mac) and enter: adb connect 127.0.0.1 then press Enter. This will connect the BlueStacks player as a device on port 5555 by default. If the ADB command does not work, chances are you didn't set your path variable correctly; you can navigate to the platform-tools folder and run the adb command from there instead.
- From within Eclipse or Android Studio, click the Run or Debug button. This should open up the Android Device Chooser window where you will see the BlueStacks player and any other physical devices connected to the computer. Select the correct option and hit OK. The app should transfer to BlueStacks very quickly and will run much more fluidly than the default virtual machines!
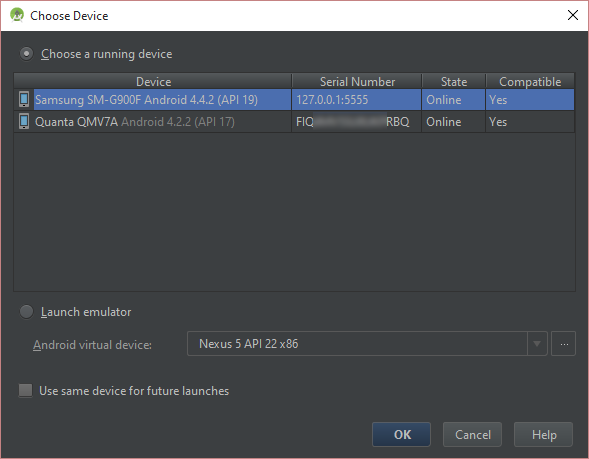
Note that the BlueStacks player has been identified as a Samsung SM-G900F.
Happy coding!
thank you very much men.
the only tutorial that worked for me 🙂
I followed the exact steps and adb.exe did say "connected to 127.0.0.1:5037" but after I click run, the running device list is still empty...
Oh!...
It used port 10001 instead of port 5555...
That's strange...
Thanks though ><...
Now I have a question of: Why it uses port 10001 instead of default port 5555?
Very interesting. It worked for me. Thank you.
Fondu Et Exemplaires par les Carabins
Thanks, I got output to logcat on my AMD putter
I install a copy on my Window 10 yesterday and only see that it wait for the debugger to attach. It no longer works. Any replacement for that? Thanks
Hey....Thanks a lot....Really helpful tutorial
Thanks Buddy.
I have noticed you don't monetize your site, but you can earn additional
bucks every day. It is very easy even for noobs, if you are interested simply search in gooogle: pandatsor's
tools
I keep getting this on macos whenever I try to run through android studio
com.android.ddmlib.SyncException: unknown command 'SEND' (444e4553)
Error while Installing APK
Android studio half the times sees bluestacks, with this i can make it see it using adb.
For macos the adb directory is /users//Library/Android/sdk/platform-tools
then to run adb while in that directory you have to do "./adb" then commands
Idk I like how bluestacks doesn't make my mac sound like a rocket ship when I run it, run the emulator that comes with android studio it sounds like a rocket.. if anyone has any ideas on fixing that errors i love to hears. Thanks!
Hi,
I try to execute the command adb connect 127.0.0.1 via Terminal from within the folder /Users/ols/Library/Android/sdk/platform-tools on a Mac running MacOSX Catalina and Android Studio 4.0 and BlueStacks 4.160.10 installed, but I'm getting "zsh: command not found: adb" although the executable file is present in that folder. Any idea what the issue is here? Thanks!
o.k. found it out: you have to type: ./ adb connect 127.0.0.1