


(This is a text transcript companion article to the video above.)
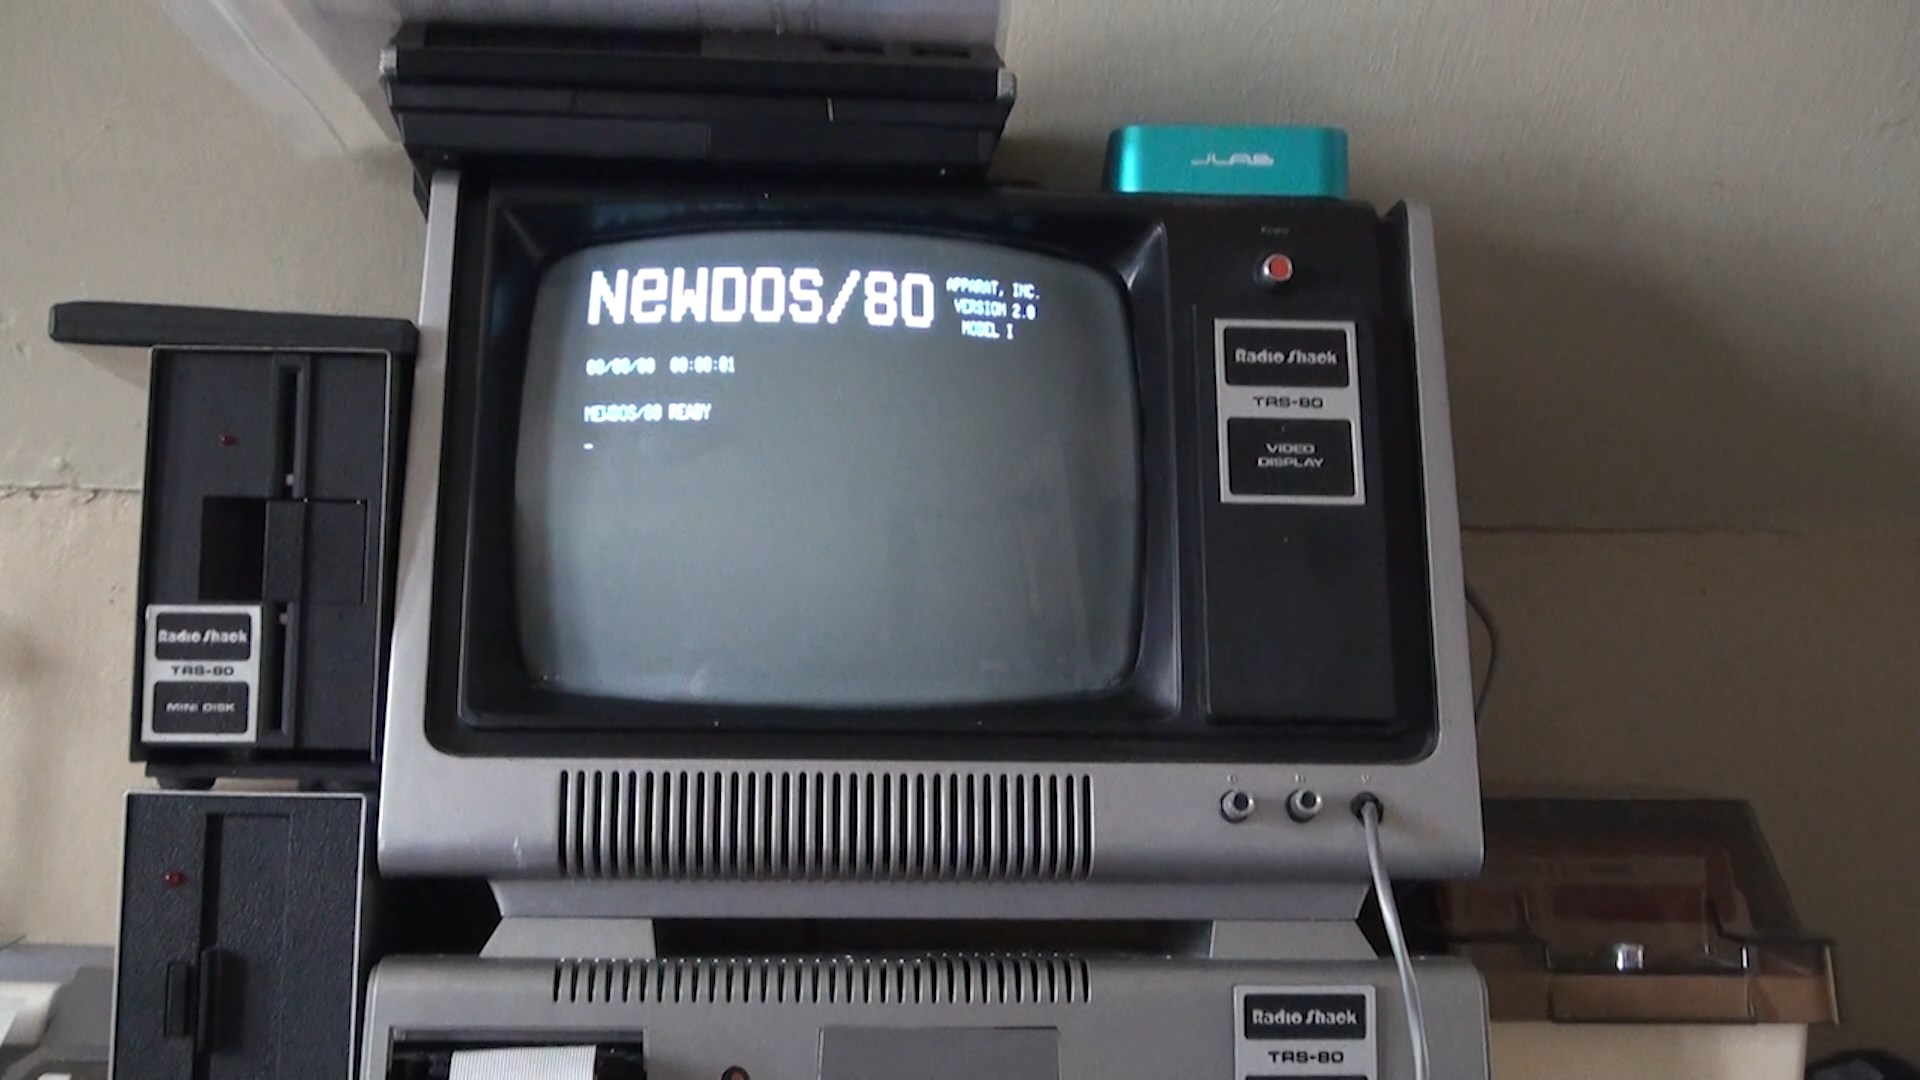
Recently, I completed a faithful restoration of an original 1977 TRS-80 Model 1 to its original working condition. It was a Frankenstein's monster of broken parts and pieces eventually reassembled and repaired including an expansion interface, 48K of RAM, disk doubler and dual disk drives. I documented the restoration process in excruciating detail on my blog, but I wanted to make this guide specifically to describe my current runaround for creating new 5.25" disk media, since the process can be quite a bit more convoluted than a lot of other systems.
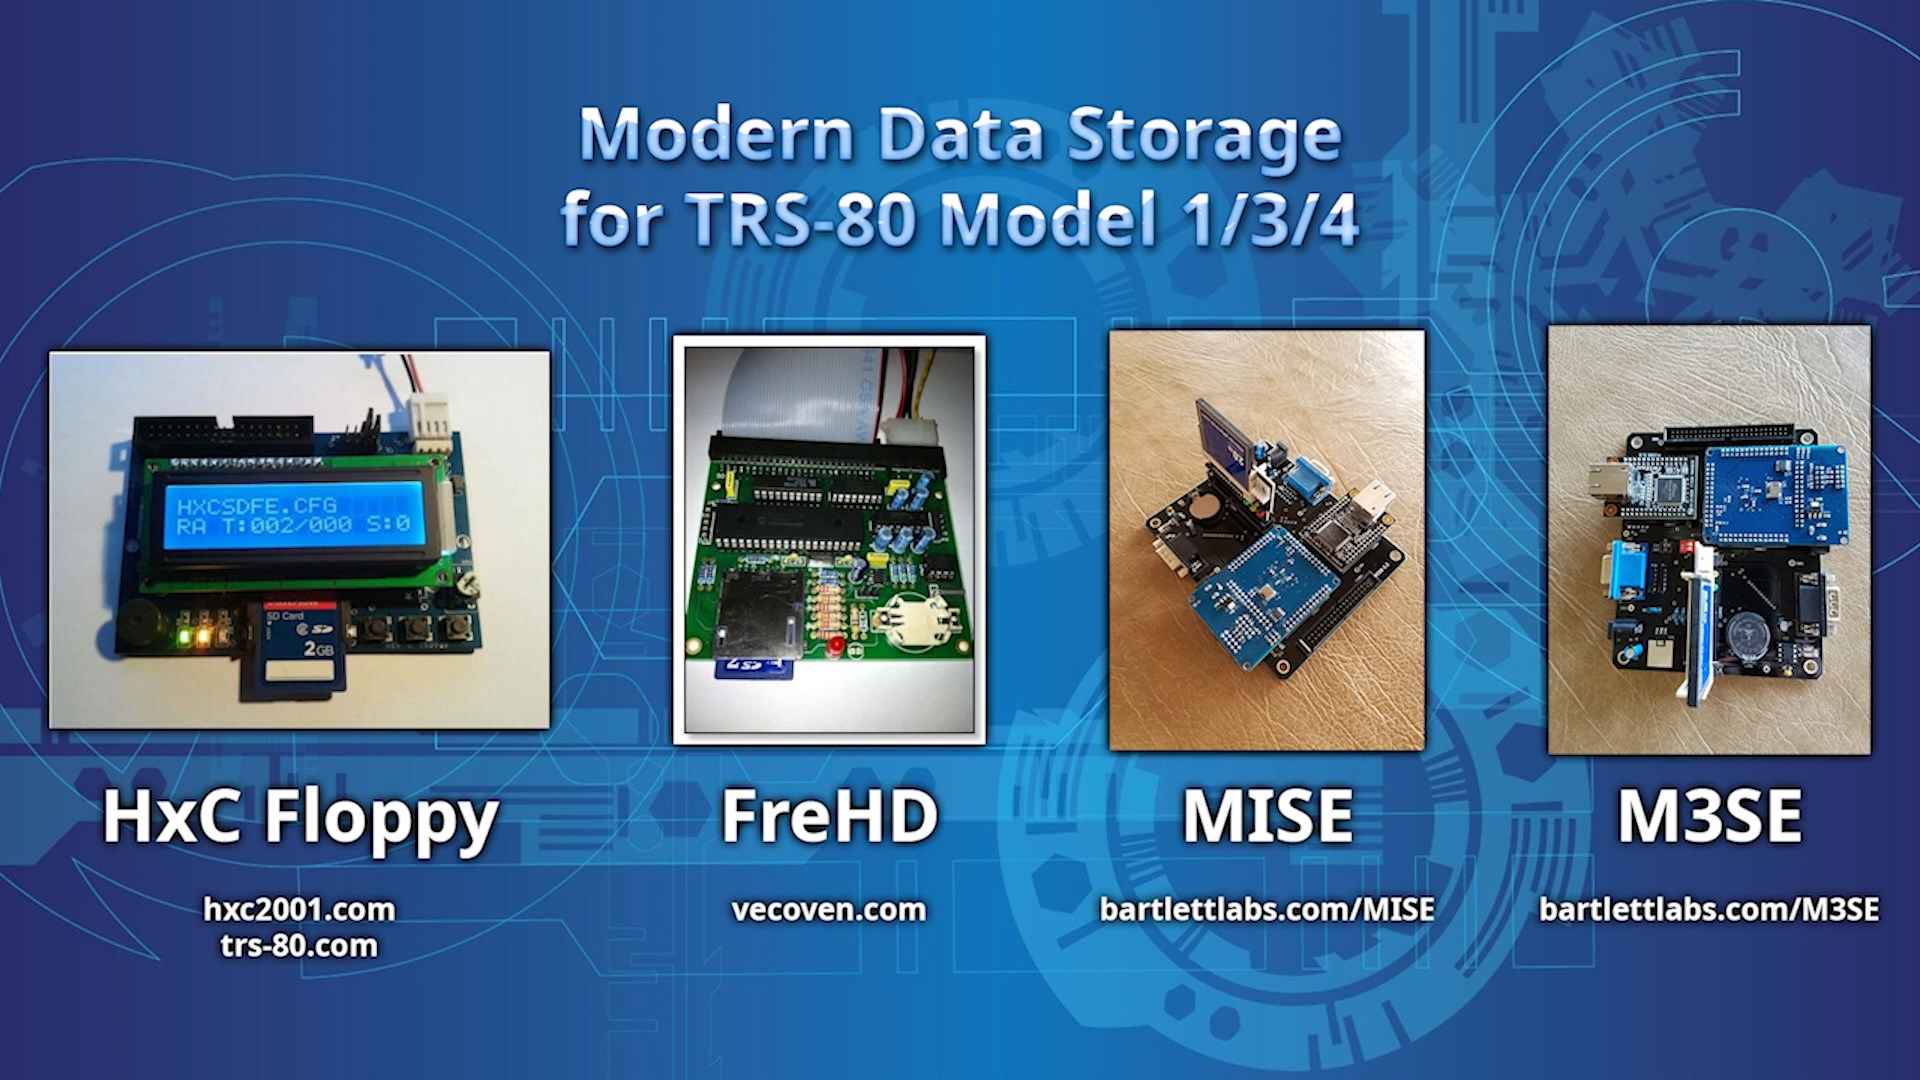
I should note that there are many convenient modern alternatives to physical floppies for TRS-80 line of computers including the FreHD, MISE, M3SE, HxC, etc. On my Model III that I also repaired, I do use a M3SE for network connectivity and storage. But for this Model I project I'm trying to remain as faithful as possible to the original hardware, which includes accessing media only via physical floppies or cassette tapes. This guide assumes you already have a knowingly working TRS-80 and corresponding floppy drives for it. I recommend cleaning the heads and re-lubing the pins of the drives to ensure optimal performance and read/write access. Also, my preference is to bulk erase floppy disks before proceeding to the initial formatting steps below.
Initially, I had no floppy disks even to boot to TRSDOS or any of the many variants. Rather than dealing with the complexities of modern-to-vintage translation to create the initial boot media, I used a novel bootstrapper utility by Jürgen Bussert. This technique requires at least 32K of RAM and establishes a floppy formatting and writing procedure via the native cassette interface. You first transfer the bootstrapper utility via an audio cable, which will prepare the rest of the procedure for you. I simply ran a mono 3.5mm line out from my headphone jack of my PC to the audio input of the TRS-80 audio cable and then played the FLAC audio, or the .CAS formats via the PlayCAS utility. If using your computer or laptop as the host, make sure to disable any audio enhancements and crank up the volume.

The bootstrapper file is loaded via cassette BASIC, which you can access by holding in the break key when powering up a machine connected to an expansion interface. Enter "40000" for the reserved memory size, and then type "SYSTEM" and press return. Enter "B" and press return again. Play the bootstrapper cassette audio and you should see a flashing asterisk in the corner. When the transfer is complete, type a forward slash "/" and hit enter. You'll then see a prompt to select the disk drive number and then to confirm the choice, with 0 typically being the primary drive of the TRS-80. After this, you begin playing the actual DOS floppy data audio, which will format the disk and then transfer each sector of data to the system's RAM, finally writing it to the disk. This takes about a minute per sector. Along the way you'll see status updates, and if any sector fails you'll have to try again. Consider different disks, drives or audio transfer settings until you have a perfectly working combination. Eventually, if all goes well, you'll see a successful notice and your machine should now reboot from the floppy. I ran through this process to generate disk images of all all major flavors of DOS, to ensure I had the right one for any job needed, and added custom labels using my vintage early-90s label maker hooked to an old Packard Bell.

But what about transferring individual applications to a floppy disk? There are thousands of TRS-80 programs archived online in several different formats. You'll find cassette BASIC files typically in a .BAS or .CAS extension, and application files for DOS in a .CMD extension, as well as complete virtual disk images which might have a JV1, DSK, DMK or IMD extension. As a first step toward creating your own compilation of programs on a given disk, you'll need to create a fresh disk image. Using Matthew Reed's TRSTools utility, you can create a new image or open an existing one to manage the files contained within, including extracting files from one image to place in a new one. If you plan on using the disk on a TRS-80 that has no disk doubler installed, a good common denominator would be a JV1 or DMK image type (with DMK being the most recent and widely supported across applications), LDOS, single density, one side, 40 tracks. If you'll be working with double density disks and have the capability on your TRS-80, feel free to experiment with that option instead. You can then drag in any CMD files you want that'll fit within the capacity. In my case, I purchased a game pack from legendary TRS-80 developer Nickolas Marentes, which includes classics like Donut Dilemma and a new game called Gem Hunter. I also grabbed new games from Peter Cetinski including Breakdown and RoundUp!, so I moved all of these CMD files to the disk image in TRSTools. When done, the image can be closed and will be ready to load into an emulator or otherwise transferred to a real floppy.

To create readable disks from a PC, you'll have the best luck if you find a Windows 98 or lower system that has a floppy disk controller capable of writing single density FM tracks, even if using double density disk formats. A simple way to check this is by using the TestFDC utility included in the ImageDisk suite, with a blank 5.25" disk inserted. TestFDC will attempt to format, read and write for single, double and optionally high density media. While it can be more reliable if you have an original 360K drive, I have had success with 1.2MB drives as well, and sometimes you can crudely emulate a 360K if need be by changing settings in the BIOS. After checking a few vintage sets from XT series through Pentium, I found that my Packard Bell Platinum 750 was able to write single density and was a good candidate for the rest of the process.

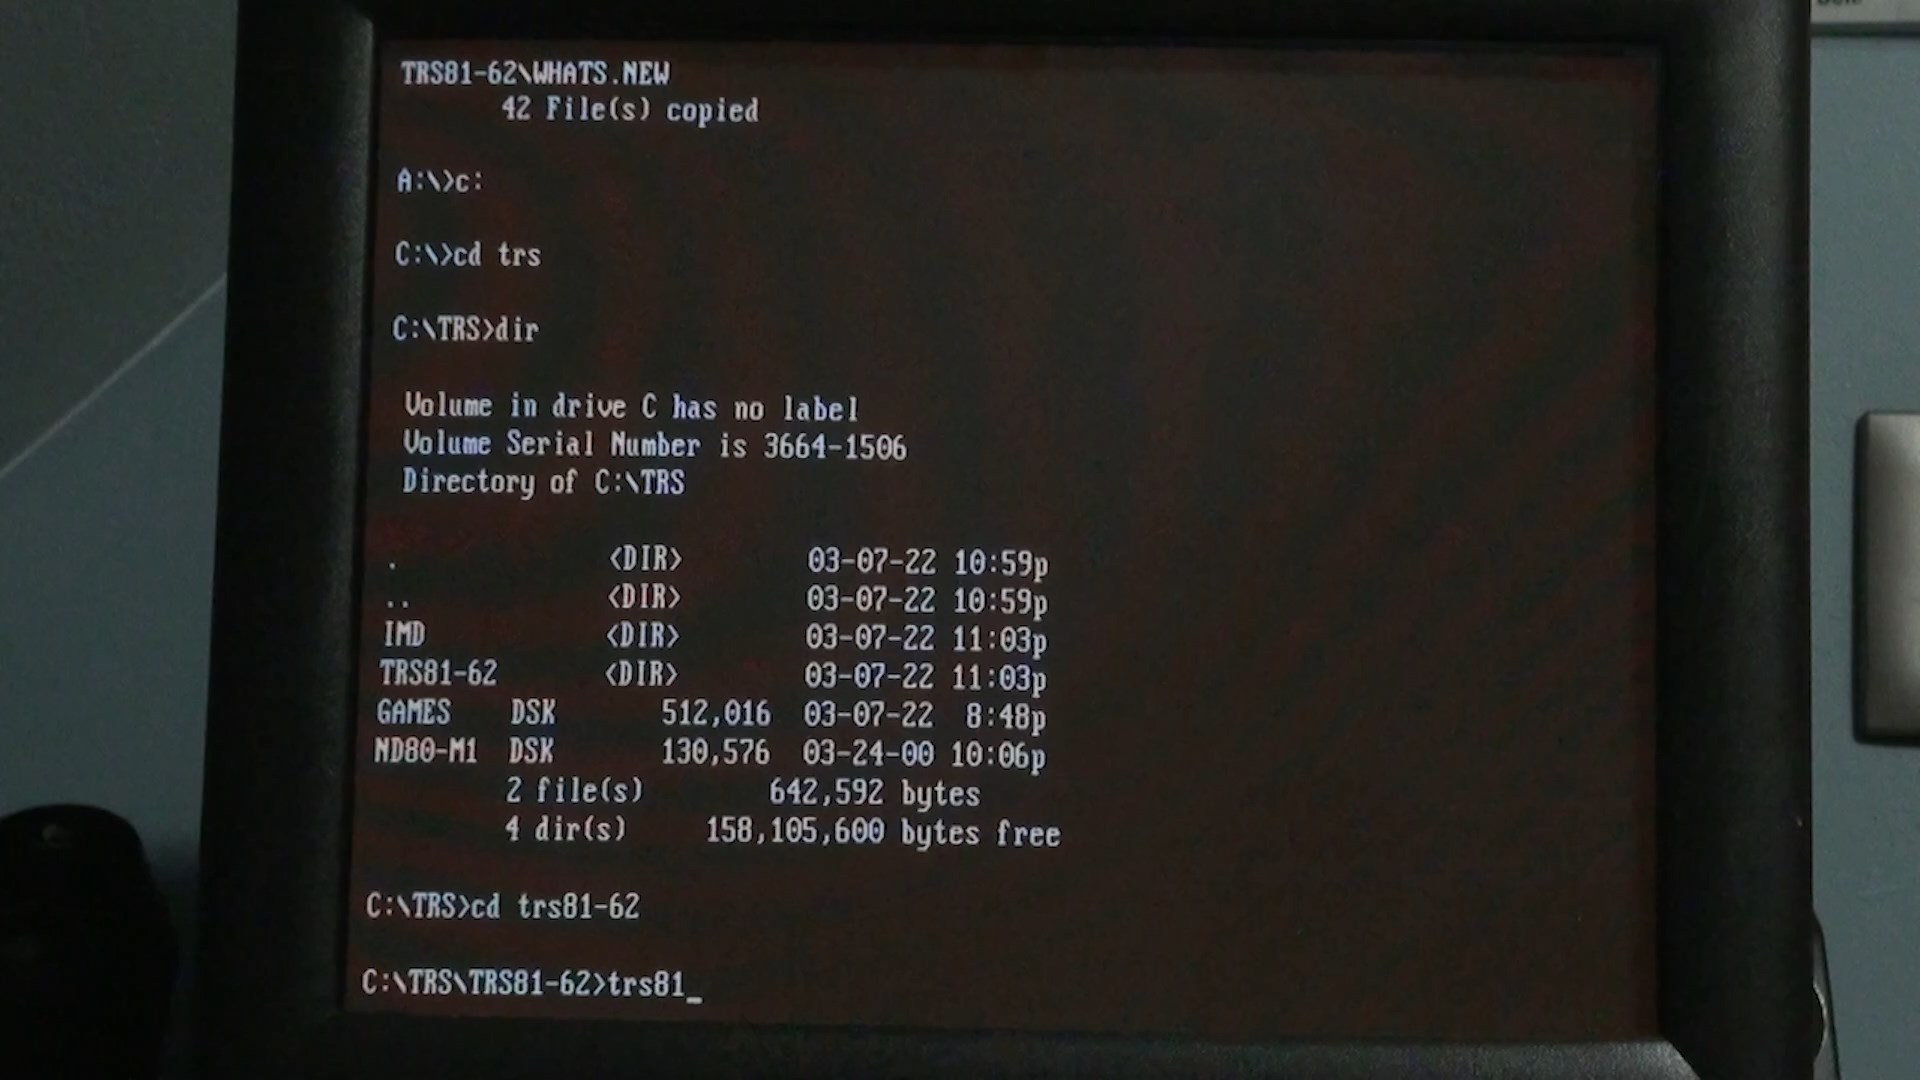
Now we can copy over the newly created disk image and any other tools necessary to the intermediary computer to do the floppy writing. Along with the new disk image compilation, I recommend copying the IMD suite if not already on the machine, as well as David Keil's TRS-80 DOS emulator available from CPMArchives (known as TRS81-62). With his emulator, you'll also need to download the accompanying "support.zip" file and extract to the same folder, which contains floppy images that will allow us to interface with both double density and high density drives from within the emulator. Finally, you'll need to copy over a disk image of some flavor of DOS, I recommend NEWDOS/80 for the simplicity of cloning a disk. To transfer all of this, it's easy enough to use a simple 3.5" USB floppy drive. Of course, if the intermediary computer is also networked, feel free to use mTCP or another FTP suite to transfer it easily that way as well. From here, there are two different approaches to actually create the working floppy disk for your TRS-80 — using either the DOS emulator or using IMD.
I have found the emulator route to be the most configuration-free and reliable, especially if using a 1.2MB high density drive that requires double stepping. Make sure you have the DOS TRS-80 emulator extracted along with the physical disk interfacing images, bootable TRS-based DOS disk image such as NEWDOS/80, and your new virtual disk.
- Launch the emulator and press F9 to open the disk configuration screen.
- For Disk Drive 0, select the DOS image; again I prefer NEWDOS/80 (e.g., ND80-M1.DSK)
- For Disk Drive 1, select the TRSTools-created disk image that contains your desired applications (e.g., GAMES.DSK).
- For Disk Drive 2, select the corresponding disk image that matches your drive configuration as seen in the chart below. In my case, I have an HD drive mapped to drive B: on my IBM (Packard Bell) computer, so selected the "FHD1_360.DSK" image.
- F350_720.DSK - Driver for accessing 80 track disks in a 3.5" PC A: drive
- F351_720.DSK - Driver for accessing 80 track disks in a 3.5" PC B: drive
- FDD0_360.DSK - Driver for accessing 40 track disks in a 360k PC A: drive
- FDD1_360.DSK - Driver for accessing 40 track disks in a 360k PC B: drive
- FHD0_360.DSK - Driver for accessing 40 track disks in a 1.2meg PC A: drive
- FHD1_360.DSK - Driver for accessing 40 track disks in a 1.2meg PC B: drive
- FHD0_720.DSK - Driver for accessing 80 track disks in a 1.2meg PC A: drive
- FHD1_720.DSK - Driver for accessing 80 track disks in a 1.2meg PC B: drive
- After this is set, hit F10 to reboot the emulator.
- Insert a physical 5.25" disk, preferably after bulk erasing it, and then optionally run the FORMAT command to format it as 40 track media disk (you can also run the format as part of the COPY function directly). The emulator will automatically use double step if running from a 1.2MB drive with the appropriate disk image previously selected.
- Assuming the format is successful and the disk is accessible, you can then do a simple copy/backup command, such as "COPY 1,2" in NEWDOS/80, to copy the image of DRIVE 1 over to the physical DRIVE 2.

If all goes well, and this will take a while, it should slowly copy over the contents of your disk image to the physical disk media. When done, you can eject Drive 1 from the emulator and test that the contents of physical Drive 2 from within the emulator as well.

Now, eject the physical disk from the intermediary machine. Boot your physical TRS-80 machine using a compatible DOS such as NEWDOS/80. Insert the new disk into the secondary drive, or in place of your DOS disk if you only have one drive, and then attempt to run a file. Hopefully, you'll have success and be on your way to discovering the wealth of applications for this iconic machine of decades past in an authentic manner. As a sidenote, if you ever want to convert BASIC files to CMD files, or convert any format into WAV for transferring via cassette BASIC, you can use Lawrence Kesteloot's TRS80-Tool from the command line to do any number of conversions.

If you instead opt to use the ImageDisk software, you'll find there are many more particulars you'll have to get familiar with including command line parameters, DMK/DSK conversion to IMD, manual collaboration in the program settings per disk and more, often requiring a slow process of trial and error to see what works best with all of your hardware. Again my recommendation is to just stick with the DOS TRS-80 emulator to handle all the intricacies automatically, but if you do want to explore the IMD method there is a video by Adrian's Digital Basement that talks more about that (note that he uses various other tools and methods that are more convoluted than the alternatives described above). IMD will work best if you have a 360K disk drive and are only working with single density writes, and it is much less forgiving about any discrepancies than the emulator allows.

Good luck, and have fun!
Pingback: Retro Fix: Packard Bell Platinum Pro 755 (1996-1997) | Matt's Repository